Virtual Environments and Custom Kernels
Virtual environments allow you to install packages for projects without having to worry about conflicting dependencies with other packages/versions. You can set up multiple virtual environments with different package sets.
In JupyterLab, you can also use virtual environments to create custom kernels so that you can use your custom package sets in new or existing notebooks.
Create and Set Up a Virtual Environment
These steps show you how to create and set up a virtual environment in JupyterLab. This includes activating the environment and installing packages. If you want to use your virtual environment in a notebook, after these set up steps, continue to Create a Custom Kernel.
Open a JupyterLab Terminal and execute the following
conda createcommand; replaceNetIDwith your UIUC NetID andenv_namewith the name you want for new virtual environment.conda create --prefix /home/NetID/env_name
Activate your virtual environment with the following
source activatecommand; replaceNetIDwith your UIUC NetID andenv_namewith the name of your new virtual environment.source activate /home/NetID/env_name
When your virtual environment is activated, your terminal prompt will look like:
(/home/NetID/env_name) NetID@jupyter-NetID:~$
For example, a user with the NetID
jdoe1that set up a virtual environment namedenvswould have this terminal prompt:(/home/jdoe1/envs) jdoe1@jupyter-jdoe1:~$Install packages into your virtual environment with
conda install package_name; replacepackage_namewith the name of the package you want to install.For example, to install
numpy:conda install numpy
After you have installed the packages you want in your virtual environment, verify them by executing
conda list.When you want to deactivate your virtual environment, perform one of the following:
Execute
conda deactivate.
Activate another, existing environment with the
source activatecommand from step 2; replaceenv_namewith the name of the virtual environment you want to activate.
Create a Custom Kernel - Install and Activate ipykernel
After you have a virtual environment set up, you can install ipykernel to use the virtual environment (and the packages you installed in it) in a notebook.
In a Terminal window, verify that your virtual environment is activated. Your terminal prompt should start with
(/home/NetID/env_name).If your virtual environment is not activated, execute the following command; replace
NetIDwith your UIUC NetID andenv_namewith the name of your virtual environment.source activate /home/NetID/env_name
Execute the following
conda installcommand to installipykernel:conda install -c conda-forge ipykernel
Execute the following command; replace
env_namewith the name of your virtual environment.python -m ipykernel install --user --name=env_name
Open a new Launcher window and launch a notebook.
In the notebook open the Kernel menu and select Change kernel.
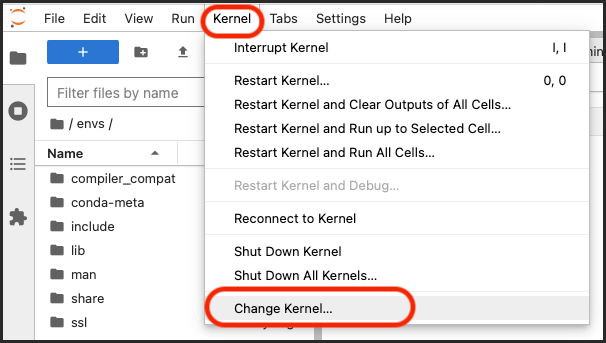
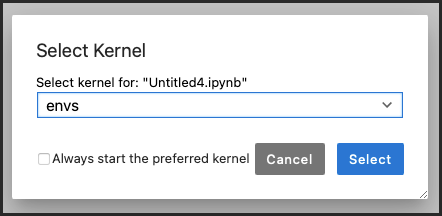
If your new env_name kernel is listed in the drop-down menu, select it.
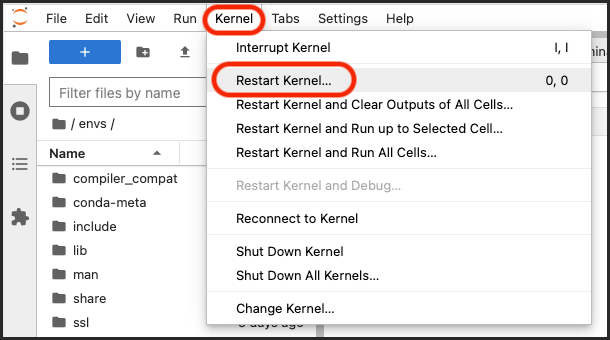
If your new environment isn’t listed:
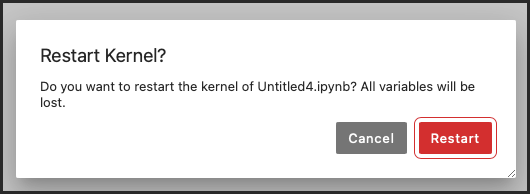
Open the Kernel menu and select Restart Kernel.
Open the Kernel menu and select Change Kernel.
Select your env_name kernel from the drop-down menu.